Difference between revisions of "Help:Spring 2008 DNA distribution"
m (Help:IGEM 08 DNA distribution moved to Help:Spring 2008 DNA distribution: Changed distribution name to a more general name to include both iGEM and Registry labs.) |
|
(No difference)
| |
Revision as of 21:19, 11 May 2008
Contents
iGEM 2008 DNA Parts Kit
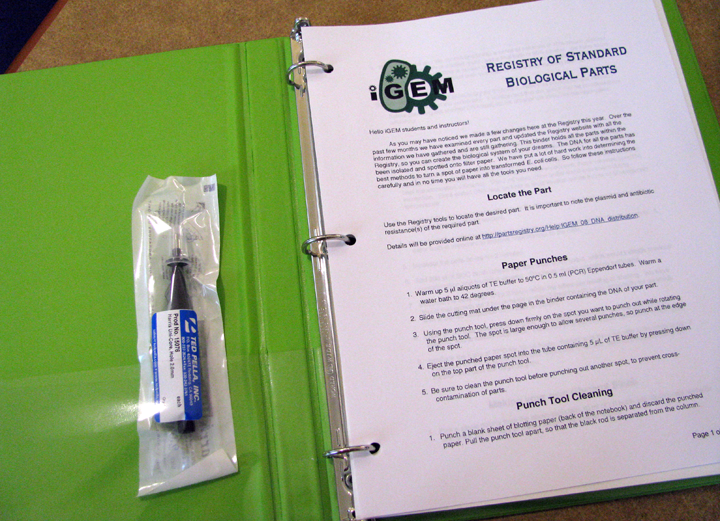
As you may have noticed we made a few changes here at the Registry this year. Over the past few months we have examined every part and updated the Registry website with all the information we have gathered and are still gathering. The Spring 2008 Distribution binder that you have received holds all the parts within the Registry, so you can create the biological system of your dreams. The DNA for all the parts has been isolated and spotted onto filter paper. We have put a lot of hard work into determining the best methods to turn a spot of paper into transformed E. coli cells. So read all of the background Quality Control information and follow these instructions carefully and in no time you will have all the tools you need.
Quality Control Process
This year the Registry has undertaken extensive quality control measures in order to better ensure the accuracy of DNA parts sent to the iGEM 2008 teams. This QC process began in February and has examined each part currently in the Registry to determine if the plasmid and the part within are correct according to the documentation provided with each submission. The results for each part were then posted on the Registry's DNA repository page [ ], allowing iGEM teams to access this information before using the submissions to create their own parts.
Grouping of parts for QC project
Each part in the Registry was assigned a well in a specific 96 well staging plate according to its antibiotic resistance and its base pair length. This grouping made it easier to examine the parts against their known antibiotic resistance and to then sequence their DNA.
Streaking for Single Colonies
Once it was decided which part would be assigned to each plate, bacterial stocks containing parts were plated and streaked for single colonies.
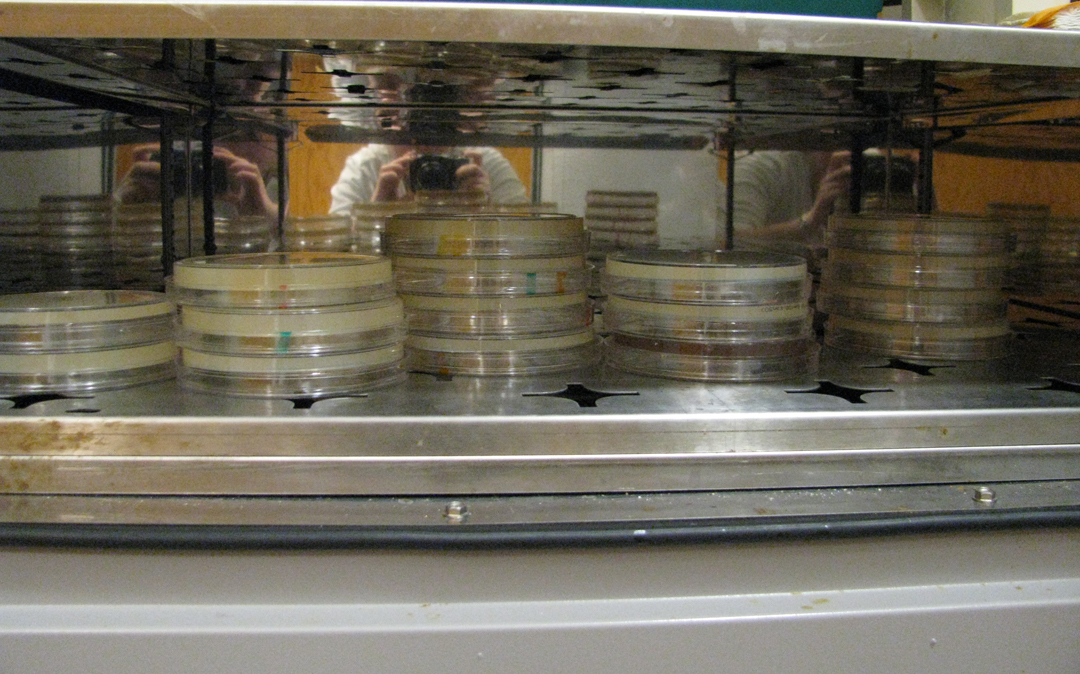
Parts in the Registry prior to iGEM 2007 were kept in glycerol stocks in the Registry's -80C freezer, where they were directly streaked onto Petri dishes with appropriate antibiotic and grown overnight at 37C.
The rest of the parts - ones submitted by iGEM 2007 teams - were received as DNA and transformed into competent cells. Once transformed, they were also plated onto Petri dishes with appropriate antibiotic and allowed to incubate overnight at 37C.
Preparation of and Inoculation from Staging Plate
The next morning, Petri plates were removed from the incubator and a single colony was picked from each plate. Using a pipette tip, the colony chosen was put into a corresponding well of a 96 deep well plate filled with the appropriate antibiotic broth, creating a staging plate for those grouped bioparts.
Once all 96 wells of the staging plate have been inoculated with single colonies, a 5.0ul pin tool replicator was used to then inoculate from the staging plate to antibiotic testing plates,miniprep plates, and glycerol plates, and the plates were grown for 10hr - 14hr.
Four antibiotic testing plates were prepared, testing known bacterial resistance of ampicillin, kanamycin, chloramphenicol, and tetracycline. The plates were grown overnight at 37C, pelleted and examined for resistant growth in wells.
As well as the antibiotic testing plates, five glycerol plates containing 10% glycerol broth and appropriate antibiotic were prepared for the long term storage of the bacterial stocks. One of these plates will remain in the Registry -80C freezer while the others will be stored offsite.
Lastly, two miniprep plates were inoculated, incubated overnight and minipreped the following day. The DNA extracted from the cultures was resuspended in TE and 15.0ul of each sample digested and run on an electrophoresis get to examine the size of plasmid and part. In addition, 24.0ul was sent to the Broad Institute for DNA sequencing. The remaining DNA left from the miniprep was then spotted to grided filter paper to generate the spring 2008 DNA distribution.
Instruction on usage
Locate the Part
Use the Registry tools to locate the desired part. It is important to note the plasmid and antibiotic resistance(s) of the required part. See more information BELOW.
Paper Punches
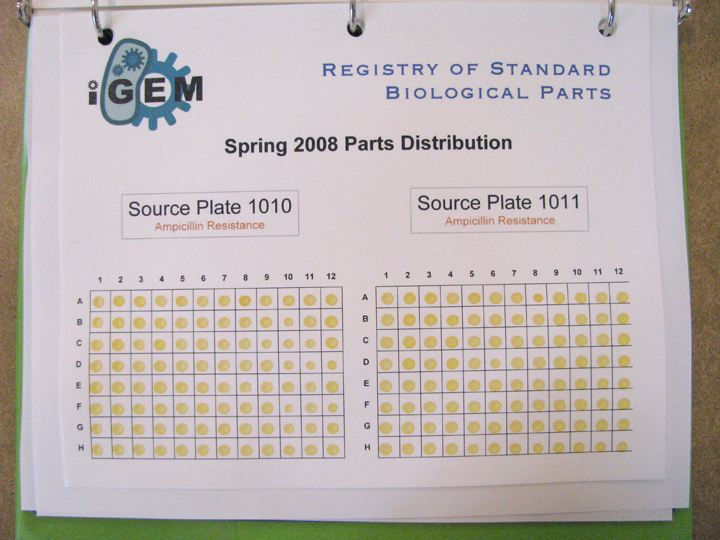
- Warm up 5 μl aliquots of TE buffer to 50ºC in 0.5 ml (PCR) Eppendorf tubes. Warm a water bath to 42 degrees.
- Slide the cutting mat under the page in the binder containing the DNA of your part.
- Using the punch tool, press down firmly on the spot you want to punch out while rotating the punch tool. The spot is large enough to allow several punches, so punch at the edge of the spot.
- Eject the punched paper spot into the tube containing 5 µL of TE buffer by pressing down on the top part of the punch tool.
- Be sure to clean the punch tool before punching out another spot, to prevent cross-contamination of parts.
Punch Tool Cleaning
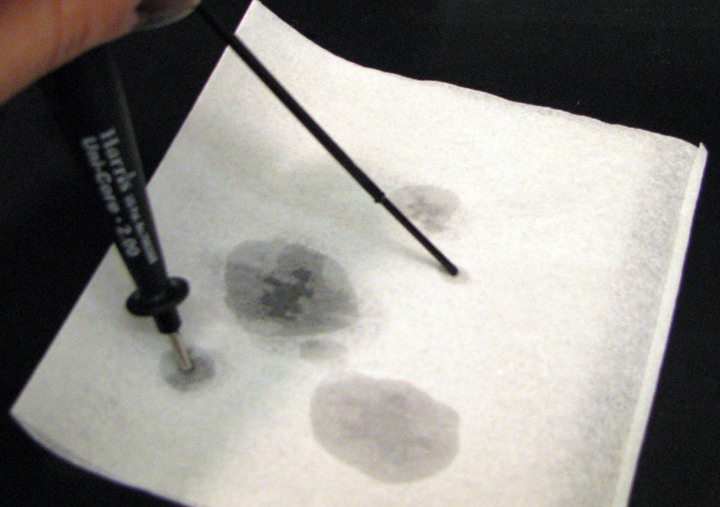
- Punch a blank sheet of blotting paper (back of the notebook) and discard the punched paper. Pull the punch tool apart, so that the black rod is separated from the column.
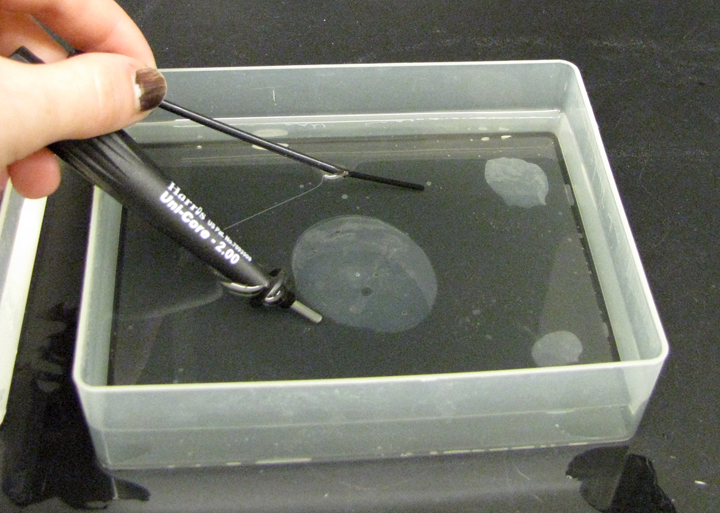
- Dip both the rod and the column briefly into a series of solutions of 10% bleach, distilled water, a second bath of distilled water, and a final bath of 95% ethanol. We have found that strong detergents tend to remain on the punch tool and can inhibit transformation of the DNA. Ethanol is preferred over isopropanol for the final cleaning bath, as it dries much faster.
- Blot with a Kimwipe and allow to dry for 5 minutes. Note that the ethanol can wick up inside the column of the punch tool. It is important that the punch tool be completely dry before punching out another DNA spot, as the ethanol will affect the transformation efficiency.
Transformation
- Soak the spots in 5 µL of the warmed TE for 20 minutes. This allows the maximum concentration of DNA in solution. Start thawing the competent cells on wet crushed ice.
- Chill labeled 2 ml conical bottom tubes on wet ice. Add 2 µL of DNA in TE and 50 µL of thawed TOP10 competent cells to the tubes. In our experience, these volumes have the best transformation efficiency. The 2 ml tubes allow better liquid movement during incubation. Extra eluted DNA may be held at least several weeks frozen or at refrigerator temperature.
- Hold the DNA and competent cells on ice for 30 minutes. This improves transformation efficiency by a significant amount.
- Heat shock the cells by immersion in a pre-heated water bath at 42ºC for 60 seconds. A water bath is important to improve heat transfer to the cells.
- Incubate the cells on ice for 2 minutes.
- Add 200 μl of SOC broth (check that this broth is not turbid, which would indicate previous contamination and bacterial growth). This broth should contain no antibiotics.
- Incubate the cells at 37ºC for 2 hours while the tubes are rotating or shaking. We have found that growth for 2 hours helps in transformation efficiency, especially for plasmids with antibiotic resistance other than ampicillin.
- Label an LB agar plate containing the appropriate antibiotic(s) with the part number, plasmid, and antibiotic resistance. Plate 250 µl of the incubated cell culture on the plate.
- Incubate the plate at 37ºC for 12-14 hours, making sure the agar side of the plate is up. If incubated for too long the antibiotics, especially ampicillin, start to break down and un-transformed cells will begin to grow.
Making your own Glycerol Stock
- Pick a single colony from the above plate into 10 ml of LB broth with appropriate antibiotic and grow 12-14 hours to create an overnight liquid culture.
- Combine 1 ml of overnight culture and 150 μl of a sterile 80% glycerol solution in a screw-top cryotube.
- Vortex briefly.
- Incubate at room temperature for 1/2 hour, and place directly into a –80 degree freezer.
- Prior to freezing, label the tube with the Biobrick part number, plasmid, and antibiotic resistance.
Glycerol stocks may be used for future access to the part by scraping small amounts of frozen culture from the tube without thawing. The culture can be plated or used directly to infect a liquid culture. Plates containing transformed parts may be held in plastic bags at refrigerator temperature for at least two weeks.
The overnight culture can be used to prepare plasmid DNA with any standard miniprep. We have had good luck with the Qiagen miniprep kits.
Other Useful Information
Antibiotics
We use a standard color code, stock concentration, and final concentration for antibiotics, listed here:
Solutions in ethanol or 50% ethanol will not freeze at –20 degrees, making them more convenient to store and use. Antibiotics should not be added to hot medium; cool medium to 55C or below prior to adding antibiotics. Tetracycline is light sensitive, store plates and medium out of direct light.
Labels
Proper labels, especially for parts stored in freezers for long periods are important in managing a parts collection. We use computer driven Brother P-touch Pro-XL label makers, with TZ-241 black on white 18 mm wide tape. This tape survives autoclaving and –80C temperatures. The program can be set up to automatically date labels and add user initials, both important features. Sharpie ultra-fine point permanent markers work well for people with good handwriting.
Cryotubes and Freezer Storage
We store glycerols in Nalgene 5000-0020 cryotubes. The tubes are arrayed in 8x8 foam insert plastic freezer boxes, Nalgene 5055-5015. The foam inserts help when you drop the box. Label the boxes on all four sides, so that the orientation in the freezer is immaterial.
Competent Cells
We make our own competent cells, following the protocol [http://www.openwetware.org/wiki/TOP10_chemically_competent_cells here]. We’ve tried all of the techniques, and this one works well for us. If you purchase competent cells, you can save money by transforming only 15 ul with 1 ul of DNA, cutting your competent cell cost by a factor of three. Even so, this is an expensive path.
Locating a Part in the Distribution
Browsing through the "plates"
- Go to the Registry.
- Click on DNA Repositories in the toolbox.
- Click on Spring 2008.
- Here you will find a list of all 22 96-well "plates" that comprise the 2008 Spring DNA Distribution. You can browse through all of the plates and take a look at all of the Quality Control information.
Locating a particular part
- Go to the Registry.
- In the search box on the upper left, enter the part number that you are interested in (e.g. BBa_B0015) and click GO.
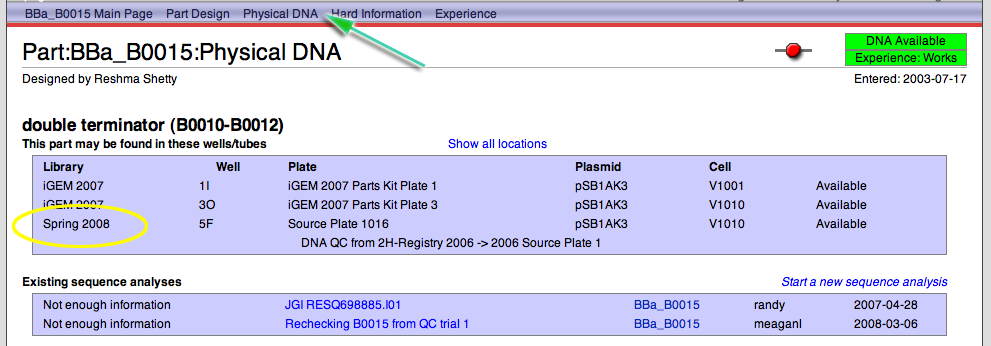
- In the part navigation bar at the top of the page, click on Physical DNA.
- You will see all of the locations for this part. You are looking for the location in the Spring 2008 Distribution Library

